How to prepare your tapes for digitization
Digitizing video cassettes is a delicate process that begins long before the tape touches the player head. Proper preparation not only facilitates the technical work in our Málaga studio but serves as a reliable way to preserve the physical integrity of your family memories.
1. Inventory and classification of media
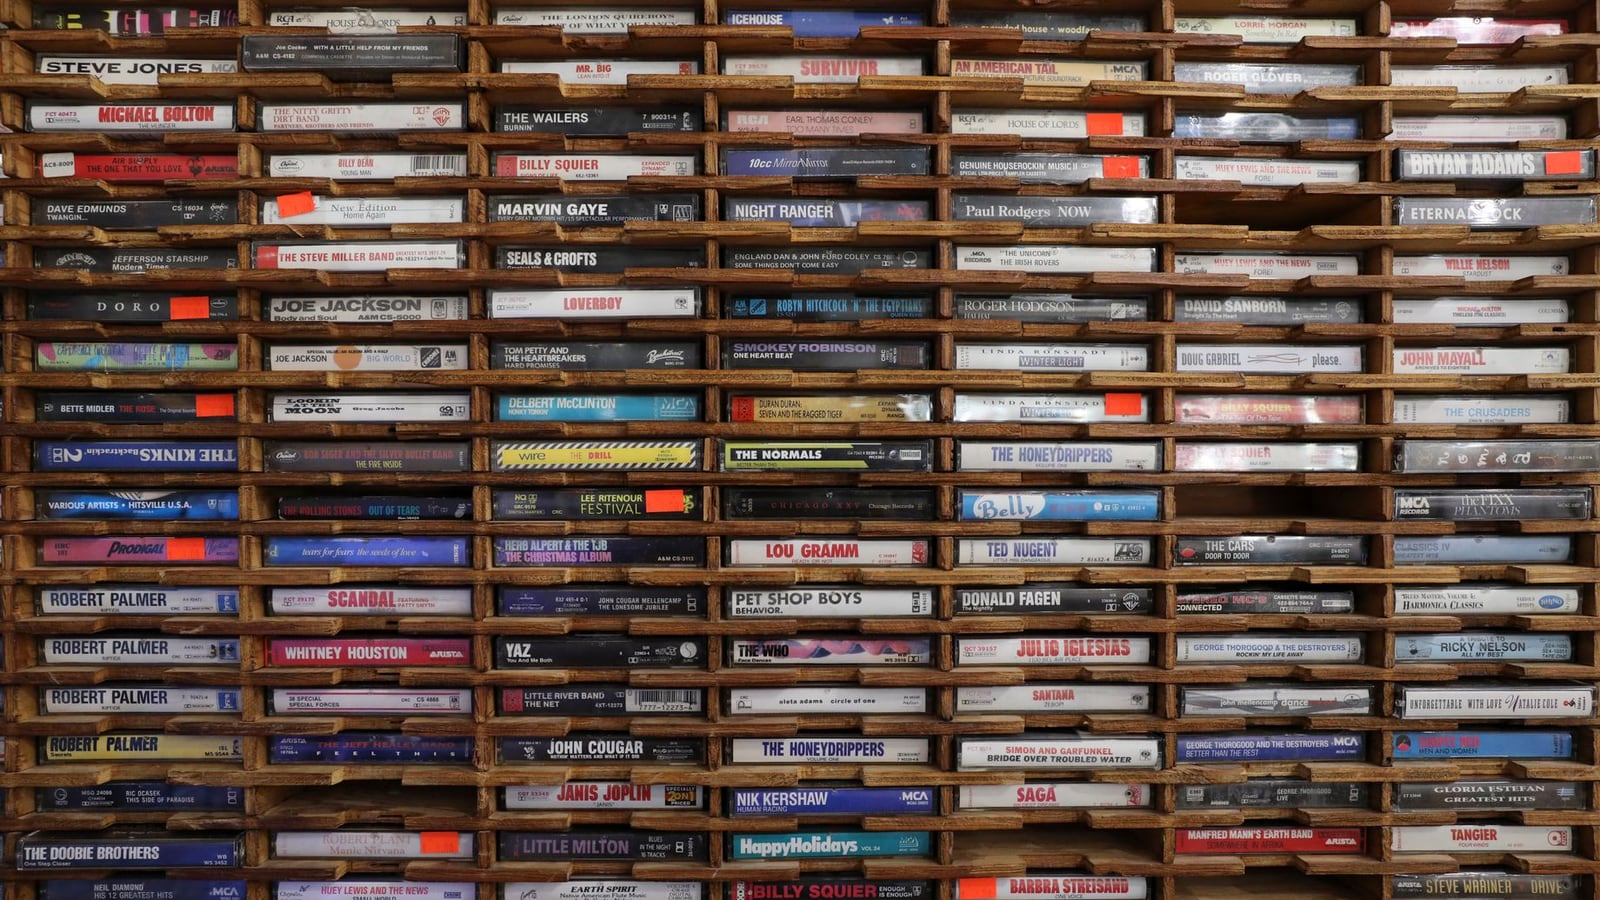
The first fundamental step is to create a comprehensive inventory of all the material you wish to digitize. At Stionhub, we process up to 12 different formats, ranging from classic VHS to MiniDV or Hi8. It is advisable to group tapes by format and, if possible, by chronology or theme.
Label each tape with a clear name or number. If the original label has faded or become illegible, use a new adhesive label. This organization prevents confusion during the capture phase and ensures that the final files receive names consistent with your own descriptions.
2. Visual inspection of physical condition
Before sending your tapes, perform a quick visual inspection. Look for signs of moisture, white spots (mold), or deformations in the plastic casing. In the humid climate of the Málaga coast, it is common to find fungal deposits on tapes stored in basements or unventilated closets.
If you detect mold, it is crucial that you do not attempt to play the tape in a home player, as you could spread the fungi to other media or permanently damage the tape. In these cases, we recommend contacting our support team to coordinate professional cleaning.
3. External cleaning and handling
External cleaning is simple but vital. Use a dry, soft cloth to remove surface dust from the casings. Avoid using chemical products, alcohols, or solvents that could leak inside the cassette and degrade the magnetic layer.
When handling tapes, avoid touching the magnetic tape directly with your fingers; natural skin oils can attract dirt and cause reading errors. Keep the media in a vertical position to prevent the tape from warping due to its own weight during long-term storage.
4. Secure packaging for transport
Transporting the media from your home to our center on Calle Larios is a critical point. Tapes are sensitive to shocks and abrupt temperature changes. For safe transport, we recommend using rigid, padded boxes.
Avoid placing tapes loose in plastic bags, as they can slide and suffer impacts. The ideal method is to use cardboard dividers or bubble wrap between each cassette to minimize friction and movement. If sending material by mail, ensure the box is correctly sealed and protected against humidity.
5. Documentation and attached notes
Accompany your order with a detailed list. Indicate which tapes are priorities, if there are specific fragments you wish to rescue, or if any tape has a known problem (such as a previous jam). The more information you provide, the more precise the video cassette digitization process will be.
If you have preferences for the names of the final files (for example: "Wedding_John_1992.mp4"), include it in your list. This allows us to optimize delivery and save you time in the subsequent organization of your digital archive.
Important note: Stionhub does not make copies of commercial movies, series, or music protected by copyright. We only digitize personal and family content.
Preparation Final Checklist
| Action | Status | Observation |
|---|---|---|
| Numbered inventory | [ ] | Tapes labeled and listed |
| Mold review | [ ] | No visible white spots |
| Dust cleaning | [ ] | Casings clean and dry |
| Rigid packaging | [ ] | Protective box with padding |
| Instruction list | [ ] | File names and priorities |
6. Considerations on cost and time
A well-prepared tape reduces the probability of technical errors and additional waiting times. The physical state of the medium directly influences the amount of restoration effort required. To better understand how these factors affect the final budget, we invite you to read our guide on how much digitization costs and what affects the price.
Remember that the average delivery time in our Málaga studio is 10 days, although this period may vary depending on the volume of media and the state of conservation of the tapes.
Frequently asked questions about preparation
Can I try to rewind the tape myself before sending it?
If the tape moves smoothly, you can do so. However, if you feel resistance or hear strange noises, stop immediately. Forced rewinding on a degraded tape can cause irreparable breaks. It is preferable that we handle this with professional machinery.
What happens if I don't know what format my tape is?
Do not worry. Our team of digitization specialists will identify the exact format upon receiving the material and will inform you about the appropriate process for each medium.